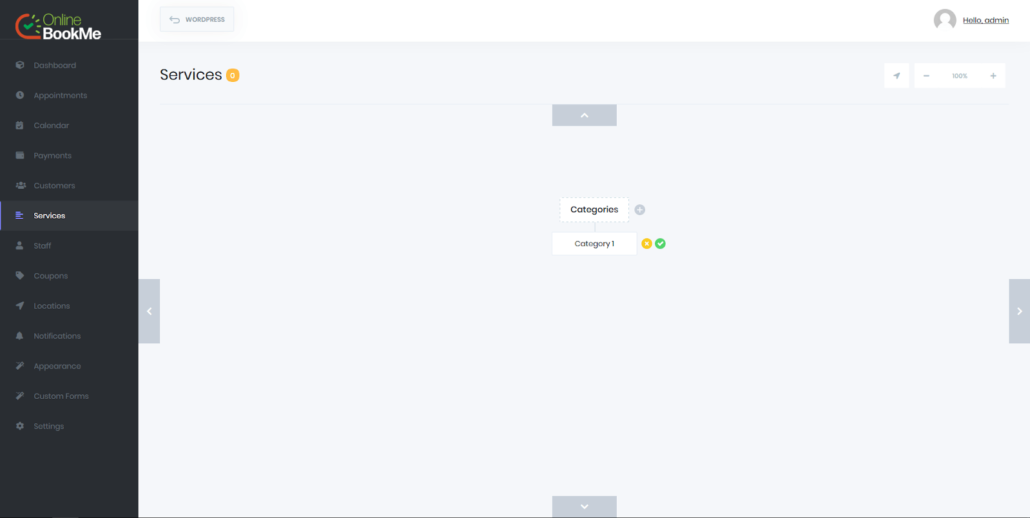
You can create your own services with a multi-level service categories. With the perfect structured view, you can easily categorize your business services.
At first you have to create your first category. To do this, just click on the “+” icon in front of Categories which is in the middle of the screen. Enter the name of category in element adding below and click on Save icon. Here is your first category.
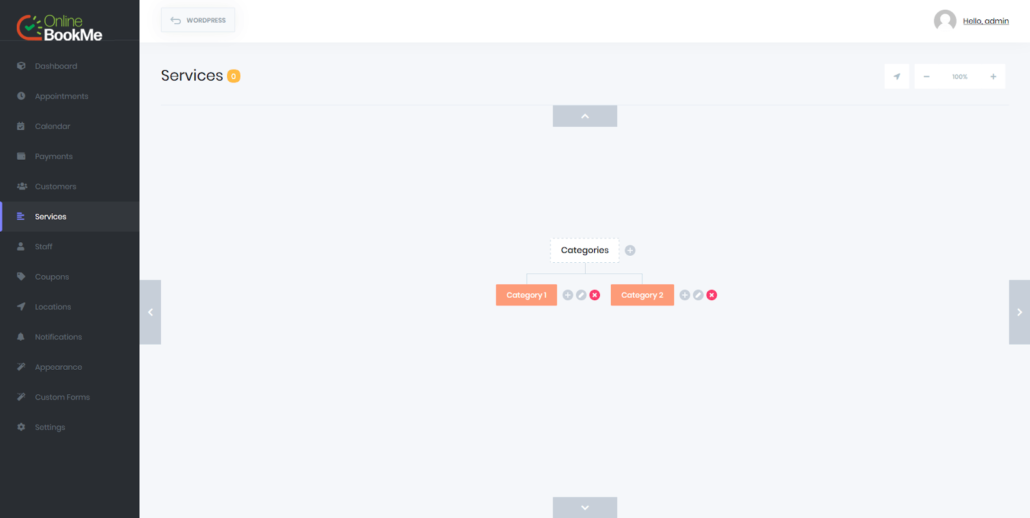
If you want to add second category in parallel, then enter and save the name of category by clicking on the “+” button near same Categories. You can repeat this process as many times as you need. There is no limit to the number of categories and services.
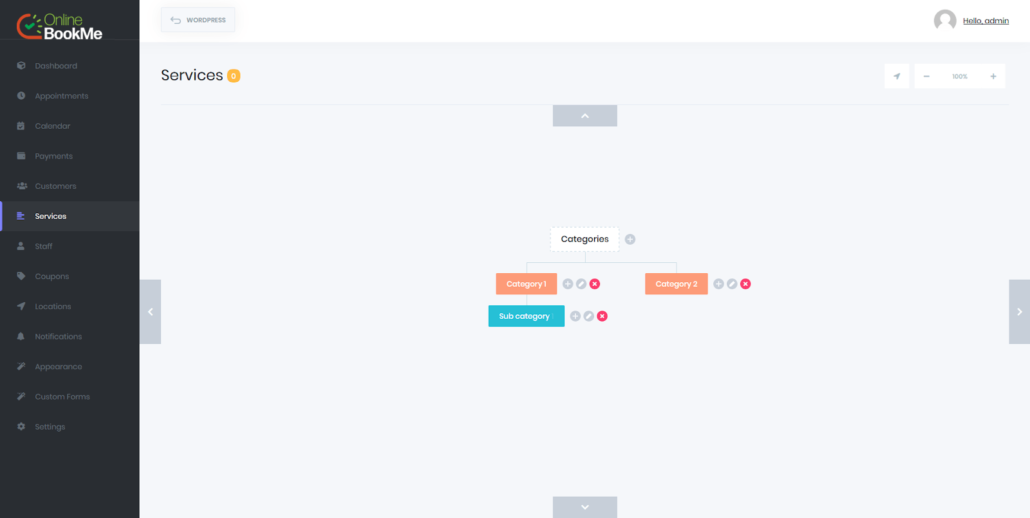
If you want to add the subcategory of the Category 1, click on the “+” icon opposite it. In the pop up, you will be asked if you want to add Category or Service. Select Category option. Save by entering the name of sub-category.
If you want to add service to the subcategory what you add to, you click on + icon and select to add a service in pop up.
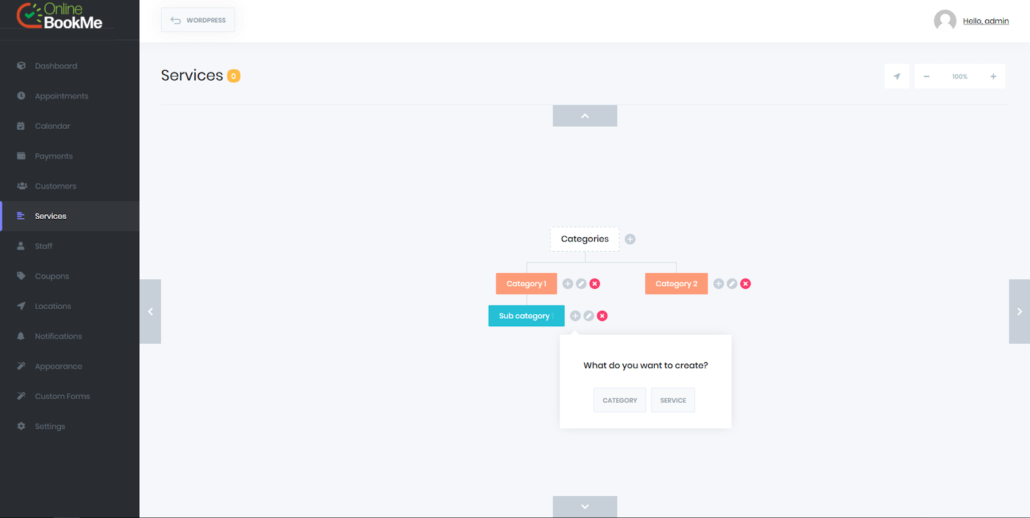
To add a service, a new modal will open:
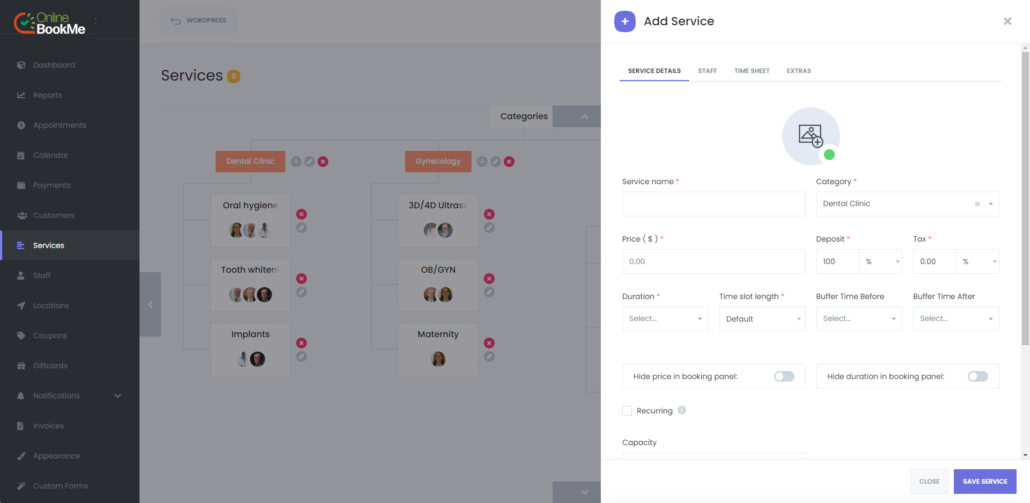
There are 4 steps to add a service:
- SERVICE DETAILS
- STAFF
- TIME SHEET
- EXTRAS
First of all you need to fill main information in this line in Service Details tab.
- Service Image: Add image for service. During Front-end booking your customers will see image placed in here.
- Name: Write your service’s name.
- Category: No need to do any changes here.
- Price: Add service’s price. You need to write only price numbers in here, no need to add currency. For example: 50.00
- Duration: You need to edit duration of your service. The options here appear in accordance with the time slot length which you designate in your General Settings. If you have chosen time slot length 10 minute then options will appear with a 10 minute increase. 10m, 20m, 30m, 40m etc.
- Buffer time before: If you need some additional time break before starting service, then you need to note this in here. Same as duration, options in here also will appear according with general setting time slot length.
- Buffer time after: If you need some additional time after finishing service, then you need to edit this in here. Same as duration, options in here also will appear according with general setting time slot length.
- Recurring: If you want to add recurring services, you have to activate this option.
After activating this option, there will appear some options for recurring service.
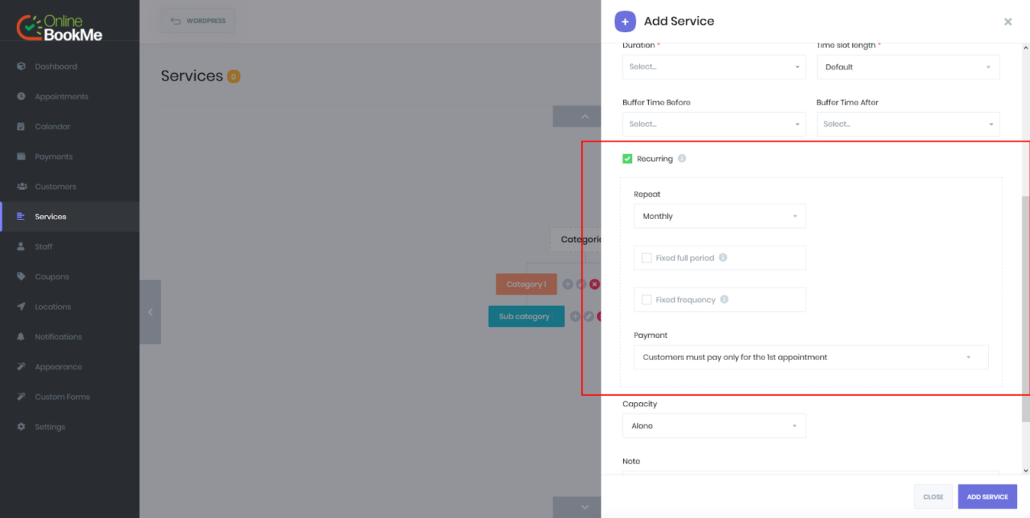
Repeat: You can select repeat type of service here. There’re 3 types of choices:
- Monthly
- Weekly
- Daily
Monthly Recurring service: If your service is repeated on certain days of the month, then you can choose the monthly option. For example, if it’s repeated 1st, 2nd, 3rd of every month. Either you’ll be able to select like the first Sunday, the last Wednesday, the third Friday of every month.
Weekly Recurring services: If your service will be repeated for certain days of the week, then select this option. For example, it can be repeated on the 1st, 3rd and 5th of every week.
Daily Recurring services: If your service is repeated every day or in X days, then you should select this Daily option. For example, your service should be repeated in 2 days.
When you create a service, you can choose only its type in this option. Customers will choose their services will be available in which days of the week or if service’s repeated monthly, it will be repeated in which days of month, or if it’s Daily recurring service, it will be repeated in a few days. For example, customer will want to benefit on the 2nd and 5th days of the week from your service. Other customer may also want to benefit on the 1st and 4th days of the week from service. If the dates that customer selects aren’t available in time sheet, the system will not accept those days.
Fixed full period: If you make this choice, you can limit the full period of repeated service. For example, we have mentioned above that treatment sample will take 10 days. In this case we act this option and select 10 days in opening area. There are options for month, week, and time(s) beside day option in this area. If you do not activate this option, then customer will specify how long the service will last when booking. For example customer will select that I book this service on every 1st and 3rd days from September 10th to November 15th.
Fixed Frequency: With this solution, you can set frequency of repetition. If you add the Monthly recurring service and select 5 days in a month by activating this option, then your customer will select 5 days in a month when booking.
Or if you add Weekly recurring service and write 3 days in a week at Fixed Frequency, then customer will be able to select only 3 days of the week when booking. When you disable this option you will have no limits for customer.
Payment: With this option, you will appoint how your recurring services will be paid when your customers book. There are 2 options:
- Customers should pay only for the 1st appointment.
- Customers must pay for all appointments in the series.
If when making online booking, it’s enough to pay ony first appointment, then select the 1st option. Customer has to pay all appointments in online way when making a recurring appointment and select 2nd option.
Capacity: With this option, you can determine whether your customers will subscribe to this service either individually or in a group. If they have to be written individually, select Alone in this option. Otherwise, you can select Group option and appoint that minimum and maximum number of customers will be written at the same time.
Note: You can enter a brief description about service. This information will be seemed to customer in front-end booking.
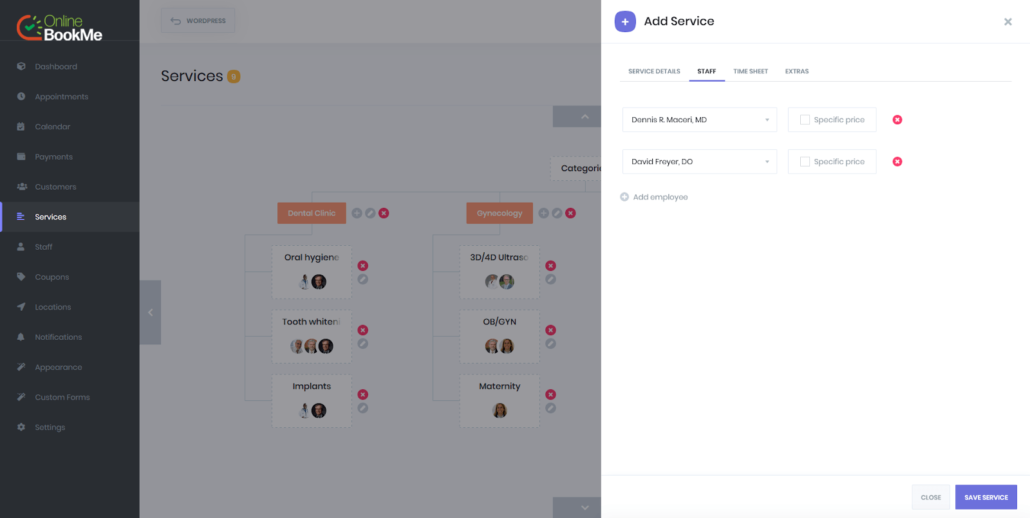
In STAFF tab, you can add staff who work in this service. Just click on Add staff button, select the staff. If the current service will be a specific price for the staff you choose, then activate “Specific price” checkbox and enter to section what is special price to Staff.
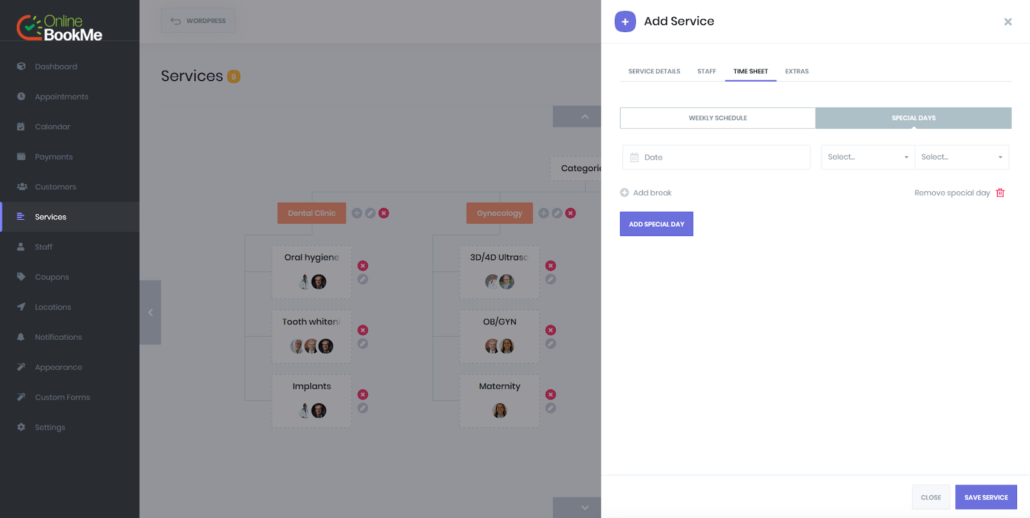
In TIME SHEET tab, you can set up special timesheet for your service. By default, the timesheet you set in Settings -> Business hours will appear here. If you need specific timesheets for this service, then first, you must active “Configure specific timesheet” checkbox.
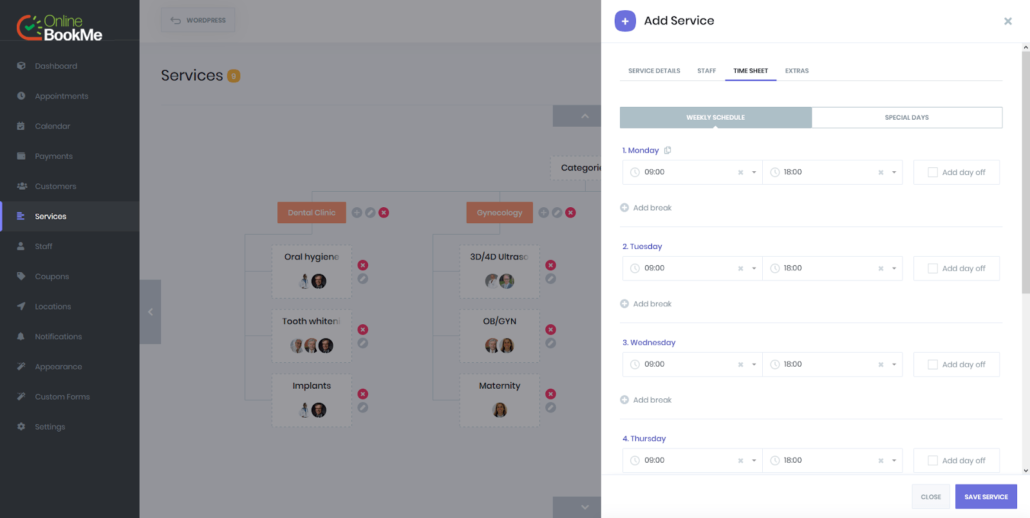
There’s SPECIAL DAYS submenu in current tab. If timesheet of your service will be different for any special days, you can exclude it from this submenu. Just click on Add special day button and select date, hours of starting and ending.
In EXTRAS tab, you can add items for your service.
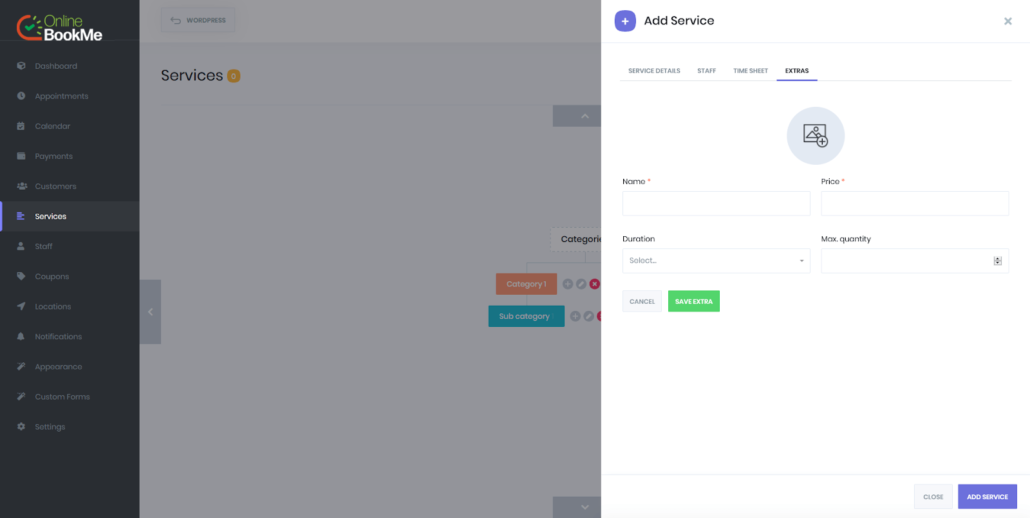
Select image of Extra, enter its name and price.
There may be some extras that can be set on duration. In this case, when current select extra, duration of extra will be added in general duration of appointment.
There may be some extras that they are sold without duration. In this case, just keep the duration empty. You will choose that maximum how many pieces customer will book in times to Max quantity section.
After completing all the content, you can click on the ADD SERVICE button and add the service.